
JavaPerspective.com >
Intermediate Tutorials >
1. The Eclipse IDE >
1.1. Getting started with Eclipse
1.1. Getting started with Eclipse
Last updated: 25 January 2013.
You can download Eclipse from the official website. There are several Eclipse flavors in the download page. For these tutorials, the recommended flavor is named Eclipse IDE for Java Developers. Unzip the downloaded file in the directory of your choice and run the executable file named eclipse. At startup, you have to choose a workspace folder which will be the location of your Eclipse projects.
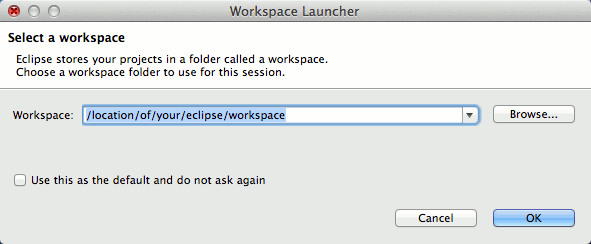
Click OK when you have chosen a workspace folder. The Eclipse welcome window is displayed:
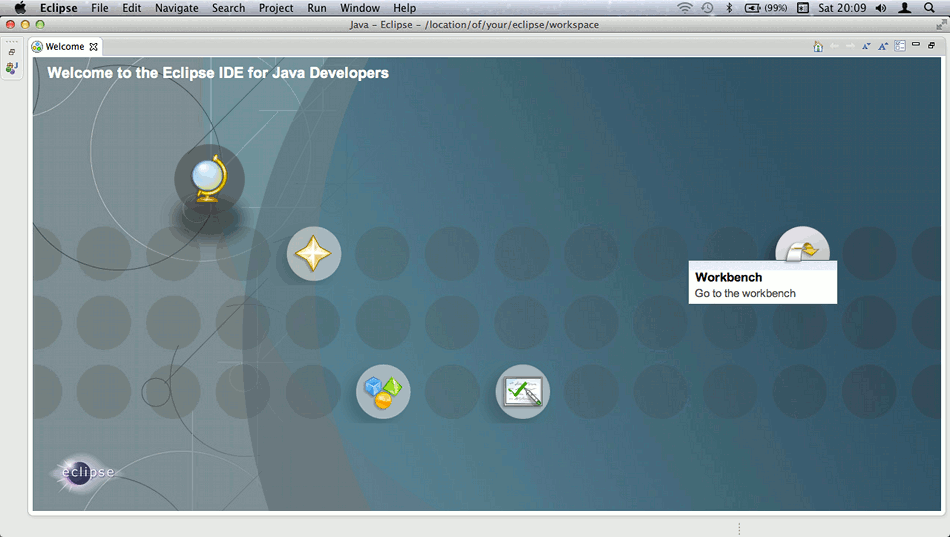
Click the button Workbench as shown above. The next time you start Eclipse, it will directly take you to the workbench. Here it is:
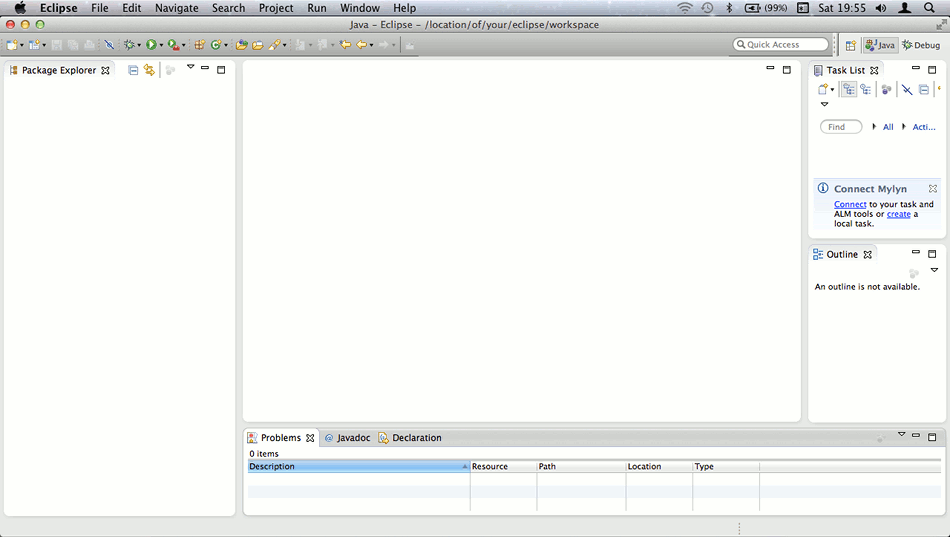
Eclipse is a very flexible IDE. You can drag and drop any tab to another location. For example, you can widen the text editor area by dragging the tabs Task List and Outline to the bottom (where the tab Problems is located).
The next tutorial will show you how to create your first project with Eclipse.
You are here :
JavaPerspective.com >
Intermediate Tutorials >
1. The Eclipse IDE >
1.1. Getting started with Eclipse
Next tutorial : JavaPerspective.com > Intermediate Tutorials > 1. The Eclipse IDE > 1.2. First project with Eclipse
Next tutorial : JavaPerspective.com > Intermediate Tutorials > 1. The Eclipse IDE > 1.2. First project with Eclipse